
Learn how to use the HAL Robotics Framework.
• documentation home• decode
• Grasshopper SDK
• back to main site
• issues and bugs
0. Administration and Setup
0.2. Create and Administer an Organization
0.1. Install
Objective:
In this tutorial you will learn how to install the HAL Robotics Framework from the user portal.
Requirements to follow along:
- Host software e.g. McNeel’s Rhinoceros 3D and Grasshopper, installed on a PC. N.B. We are working with McNeel to automate this process for you. If you are using Rhino 8 (the latest version) please open Rhino, run the
SetDotNetRuntimecommand and selectNETFrameworkbefore running any of our software. Again, we are working with the McNeel team to try and streamline this during installation. - Internet access.
How to:
In order to install and use the HAL Robotics Framework, you will first need to create your account on the HAL user portal. If you already have an account, you can simply login to the user portal.
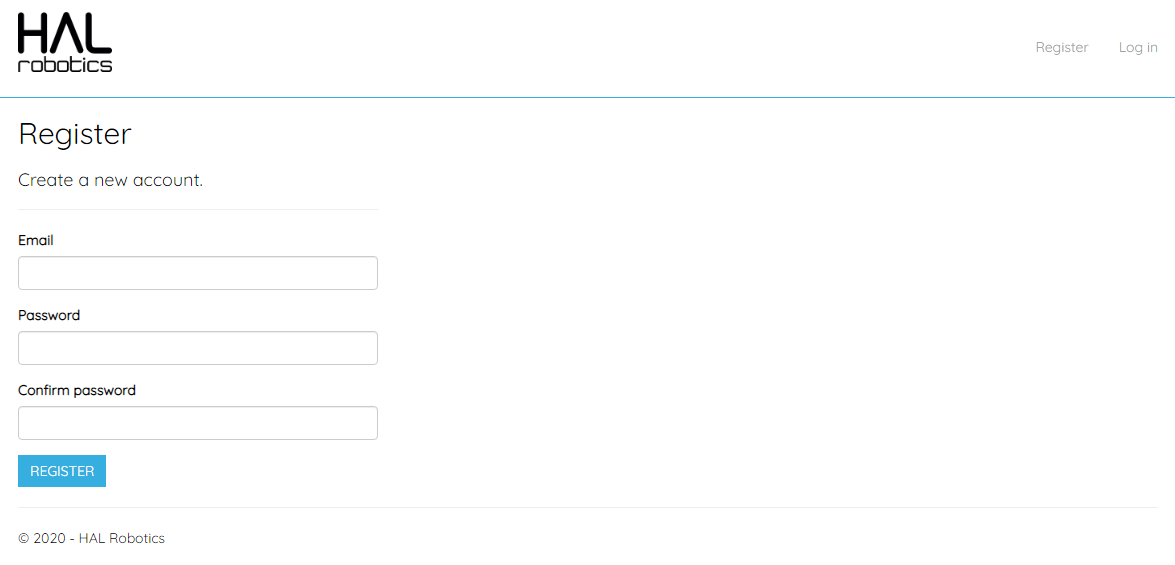


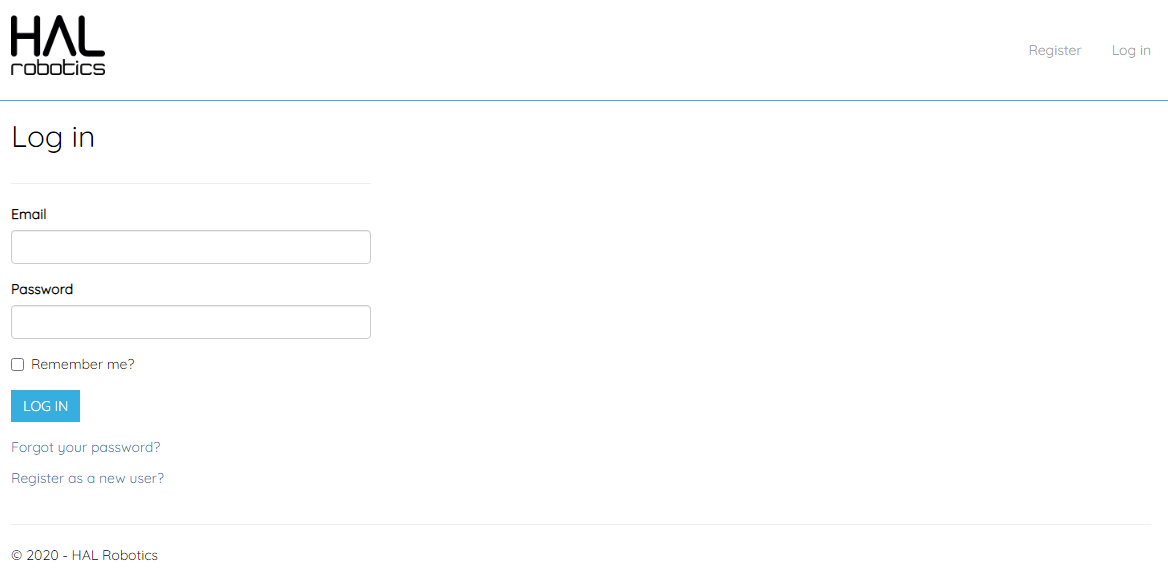
Once logged in, if you haven’t had a trial before, you should see a Request Trial button which will send one of our team a request to activate a trial license for you. Requests are monitored frequently during the week so you should get a license quickly but to ensure we know who’s asking, please ensure your name is complete in your portal profile and that you’ve used your organisation (work, university, college etc.) email address.

On the home page you should see a Downloads tab which will give you a link to download the HAL Robotics Framework. By clicking on that link, you will download the HAL Robotics Framework Installer.


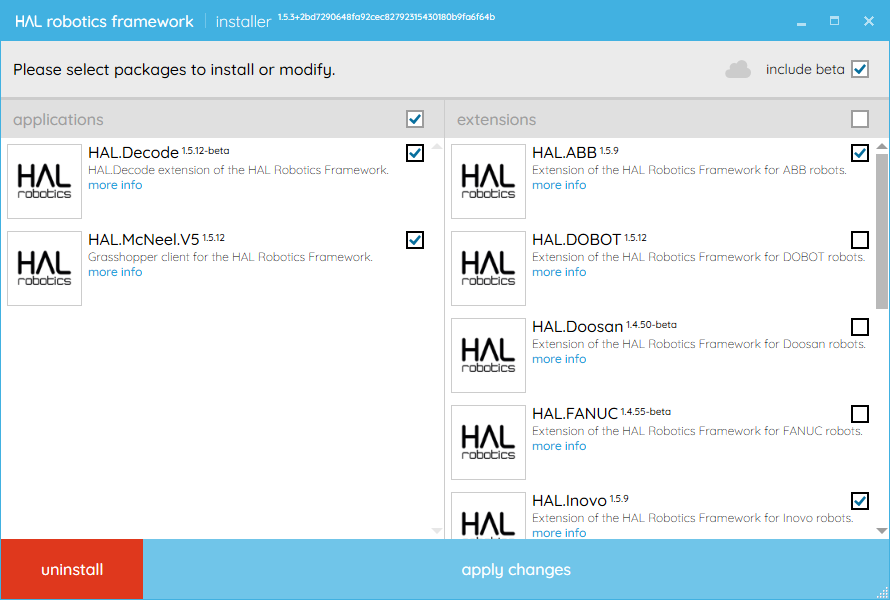
Once the download is complete, run the installer and you should see a list of all available packages and extensions. Select the ones you want to install according to the robots that you will want to program using the HAL Robotics Framework and the host software you want to add the Framework to. For example, if you want decode simply select HAL.decode or for the Grasshopper SDK, select HAL.McNeel.V5. If you have a custom extension please see this guide for additional instructions.
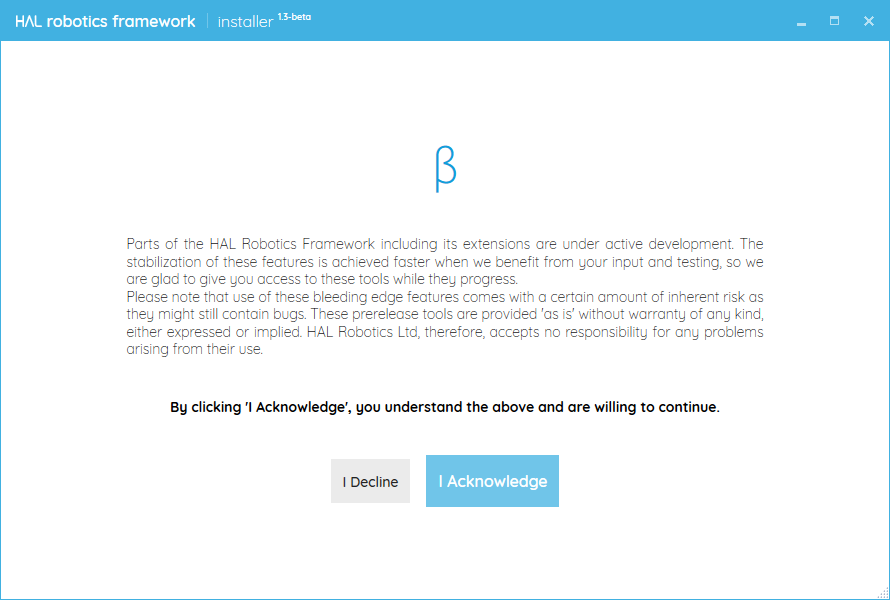
If you can’t find an extension you’re expecting to see or are interested in using any packages that are currently in Beta, you will need to ensure the include beta box is ticked in the installer, as shown below.
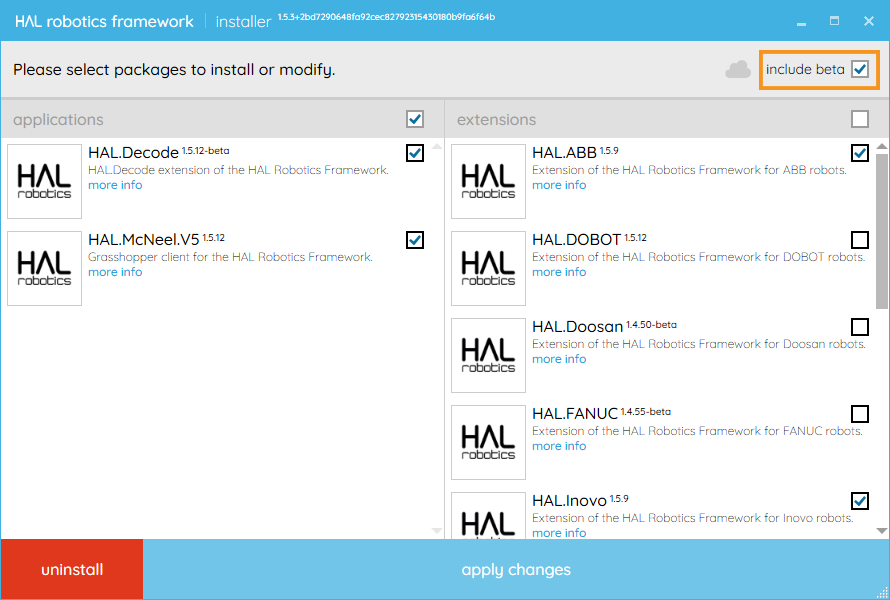
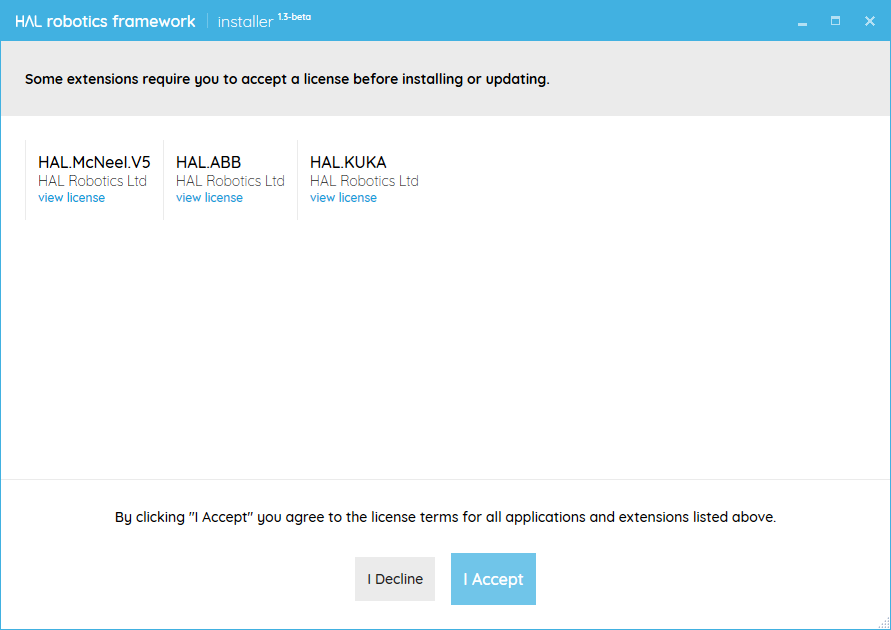
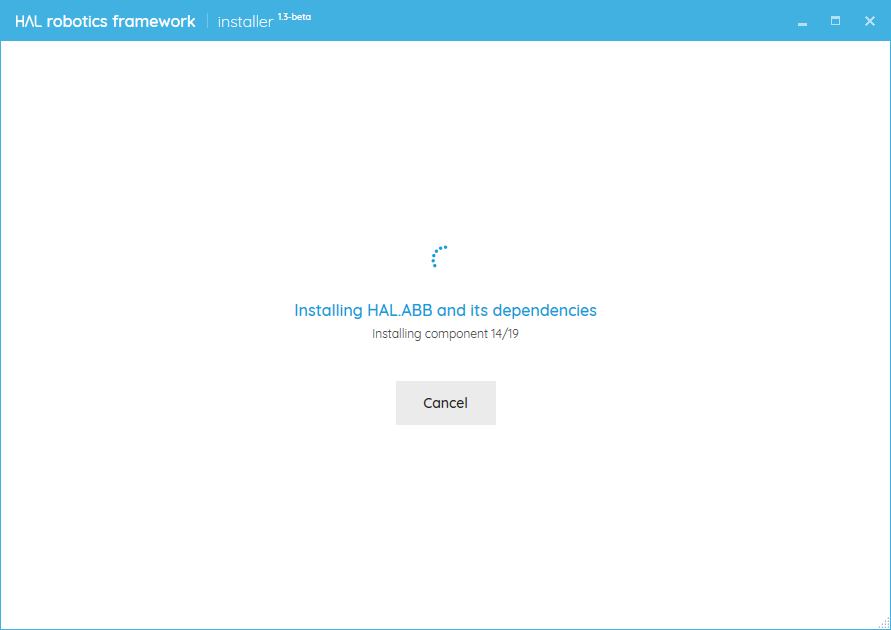
Once you have selected your configuration simply click apply and the installation will start.
Every time there are updates available for the packages you have installed simply clicking apply will download and install the latest version.
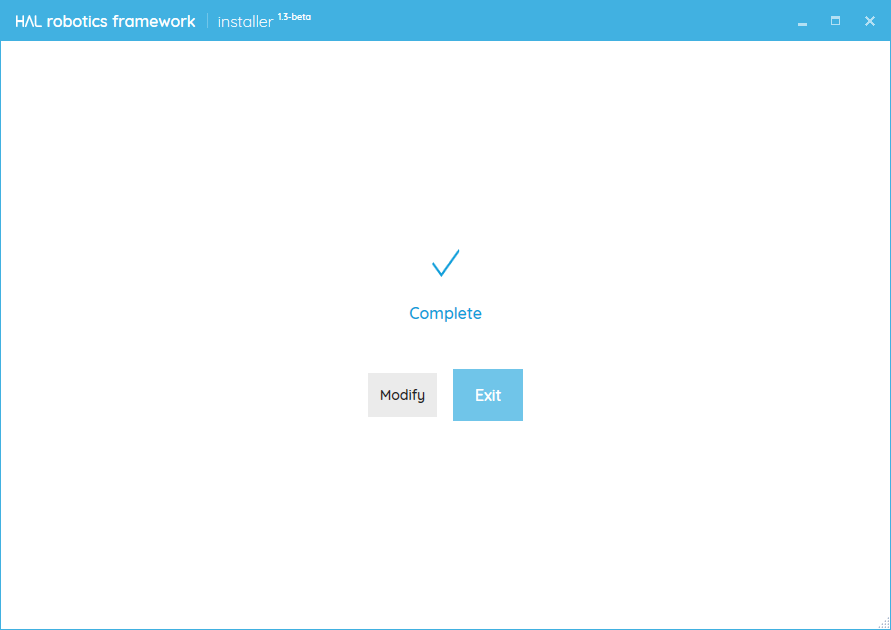
Once the installation is complete you have successfully installed the HAL Robotics Framework.
0.2. Create and Administer an Organization
Objective:
Do not follow this tutorial unless you represent an organization.
This tutorial is aimed at organization administrators who would like to manage licenses and users for their institution from the user portal. If you are a user trying to access their organization’s licenses please skip forward to the Join an Organization tutorial. Please note that all new organizations need approval from a HAL Robotics team member so, again, please do not follow this tutorial unless you represent an organization.
Requirements to follow along:
- Internet access.
Background:
Creating an organization will allow members to share floating licenses. This maximizes the usage of your licenses and avoids employees or students leaving with access to a license you’ve paid for.
How to:
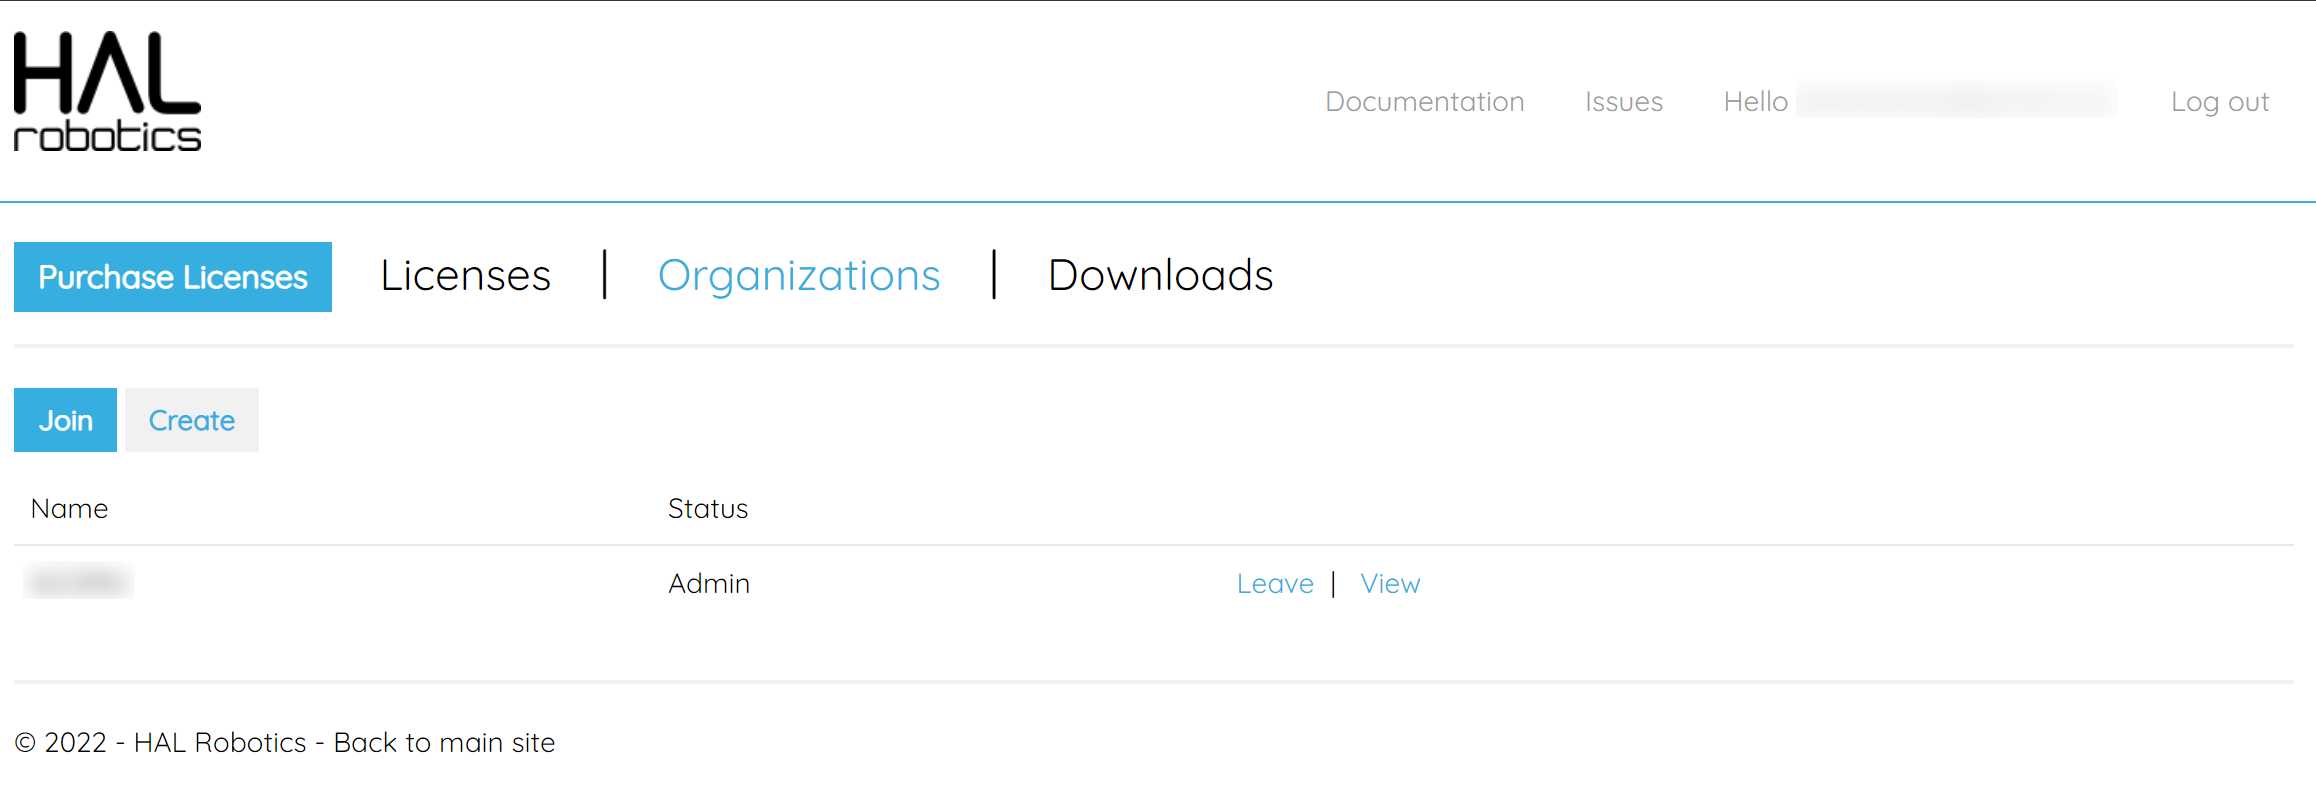
Start by browsing to the user portal and logging in. You can then navigate to the Organizations tab. Here you should see a list of any organizations you are already a member of. It’s likely that this list is empty at this stage so let’s create an organization for you company or institution.
Click on the “Create” button at the top of the tab. There are a few details that need to be entered here:
-
The name of the organization.
-
Your Company number and VAT number are optional but they will need to be set (unless exempt) before you can purchase licenses for this organization online.
-
If your organization is an academic institution then you can tick the “Academic” box.
-
Checkout Rights define who can temporarily check-out your licenses for offline use. “All” allows any member of your organization to do this. “None” allows nobody to do this. “AdminOnly” allows only the admins of the organization to do this.
-
The Billing Address is required and will be used for online license purchases.
-
The Joining Phrase is a semi-private phrase which can be used in conjunction with the organization’s name to allow members to join your organization without your intervention. This can either be a word, phrase or string that you choose, or by clicking the refresh button, we can generate a 3-word phrase for you. Have a look at the Join an Organization tutorial to see the Joining Phrase in action.
-
All other information is optional but will help to automatically populate information when requesting quotes or purchasing information.

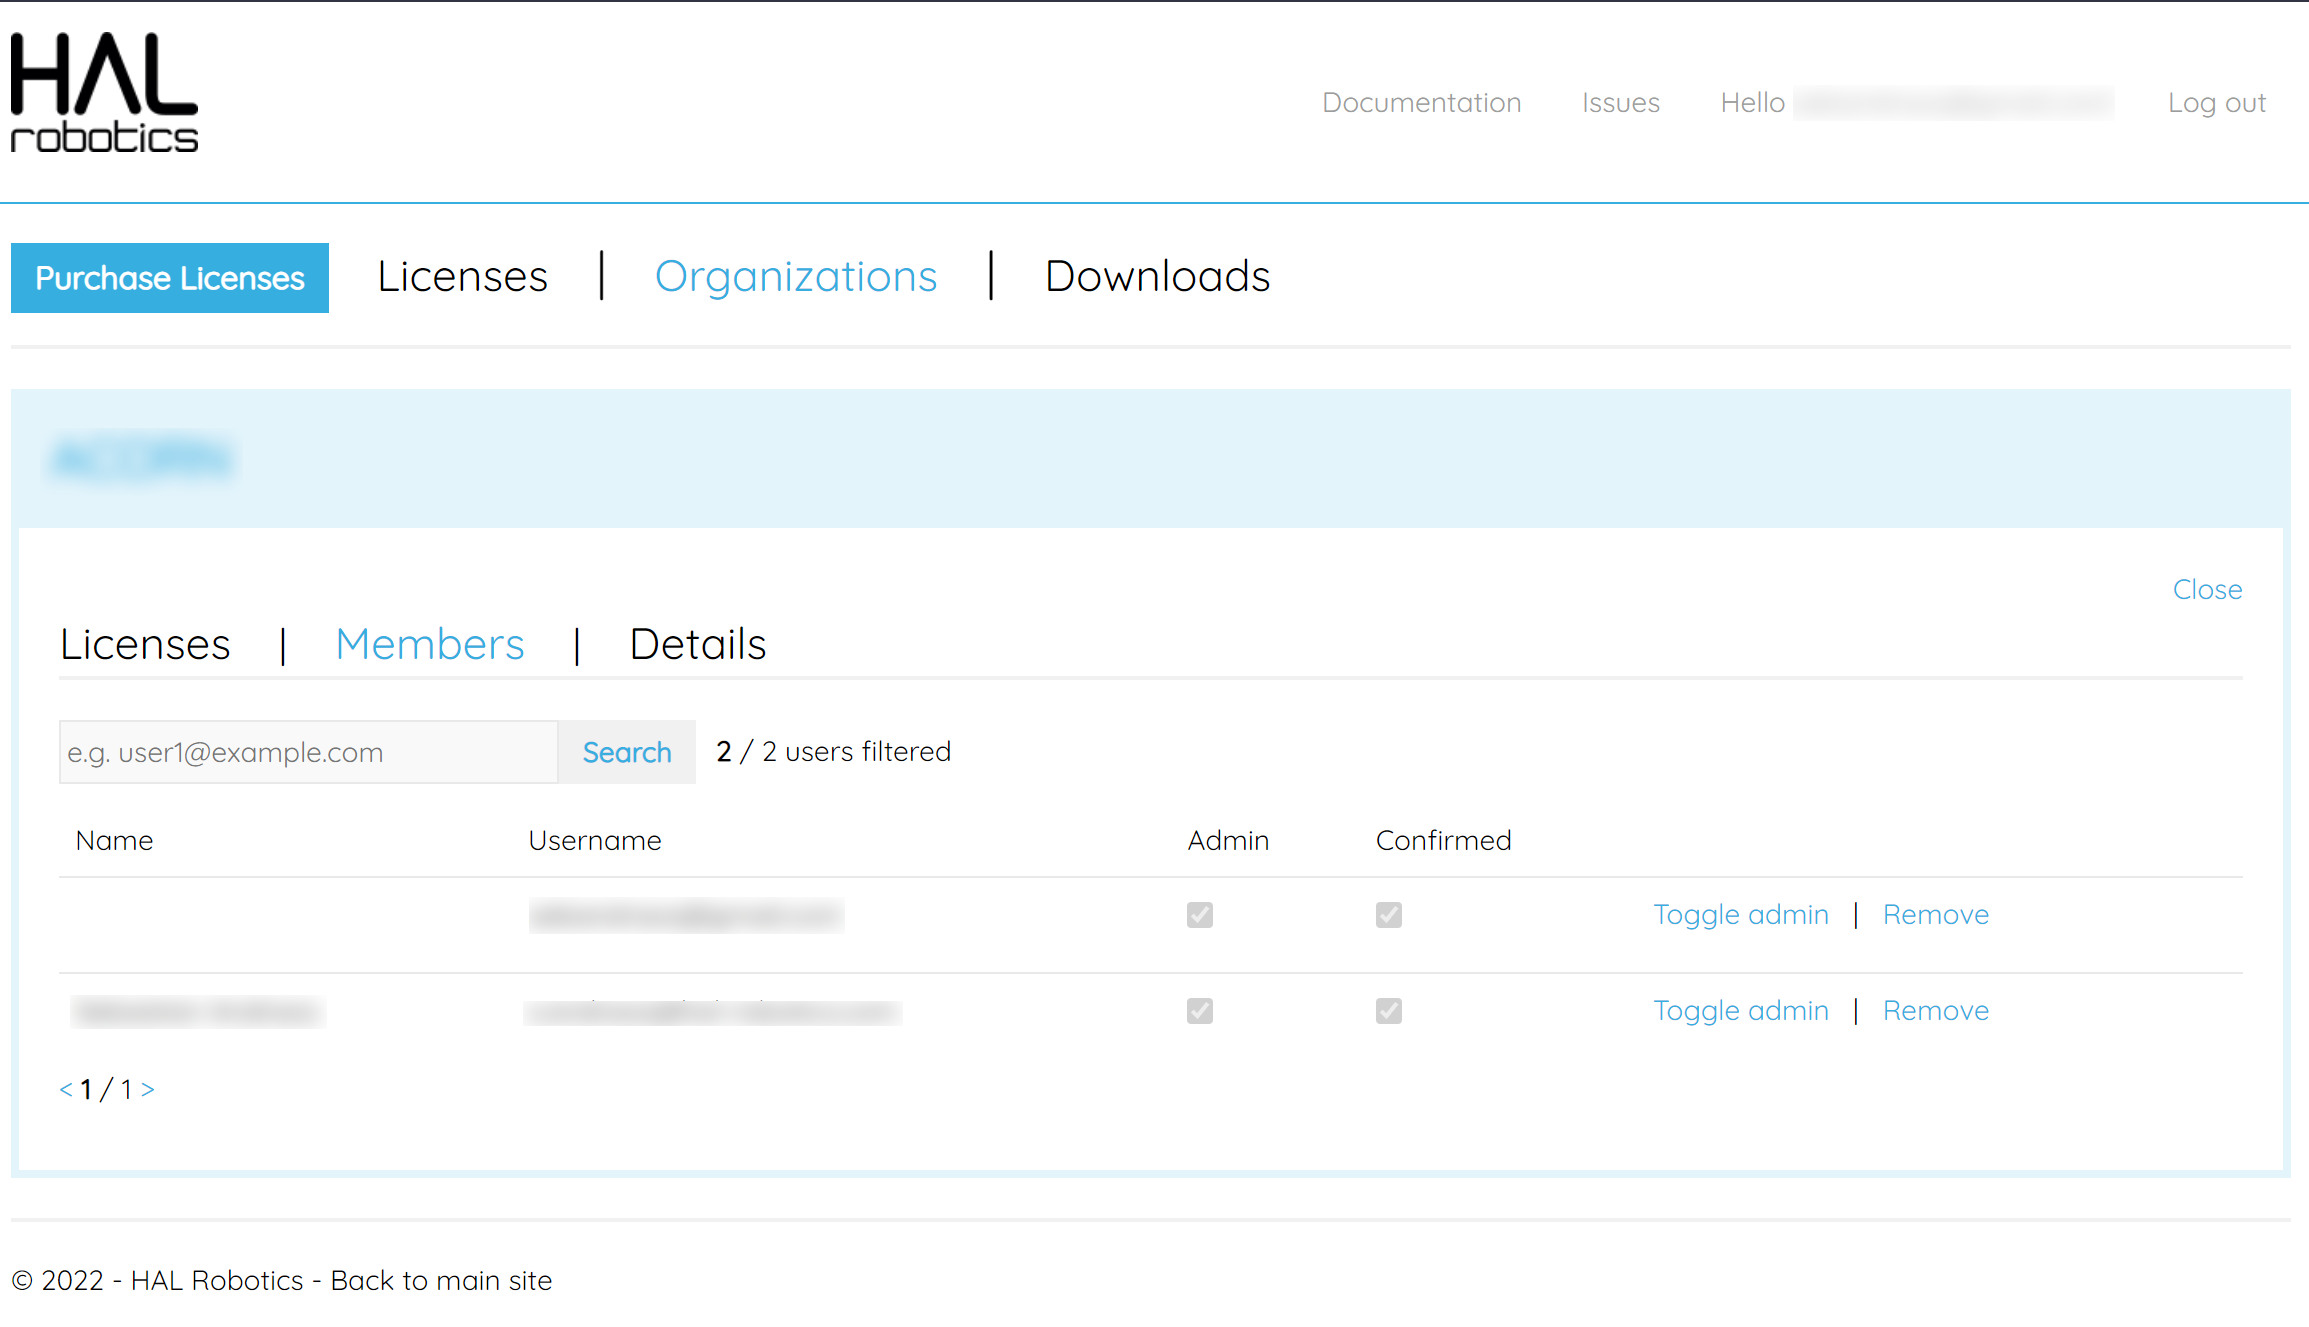
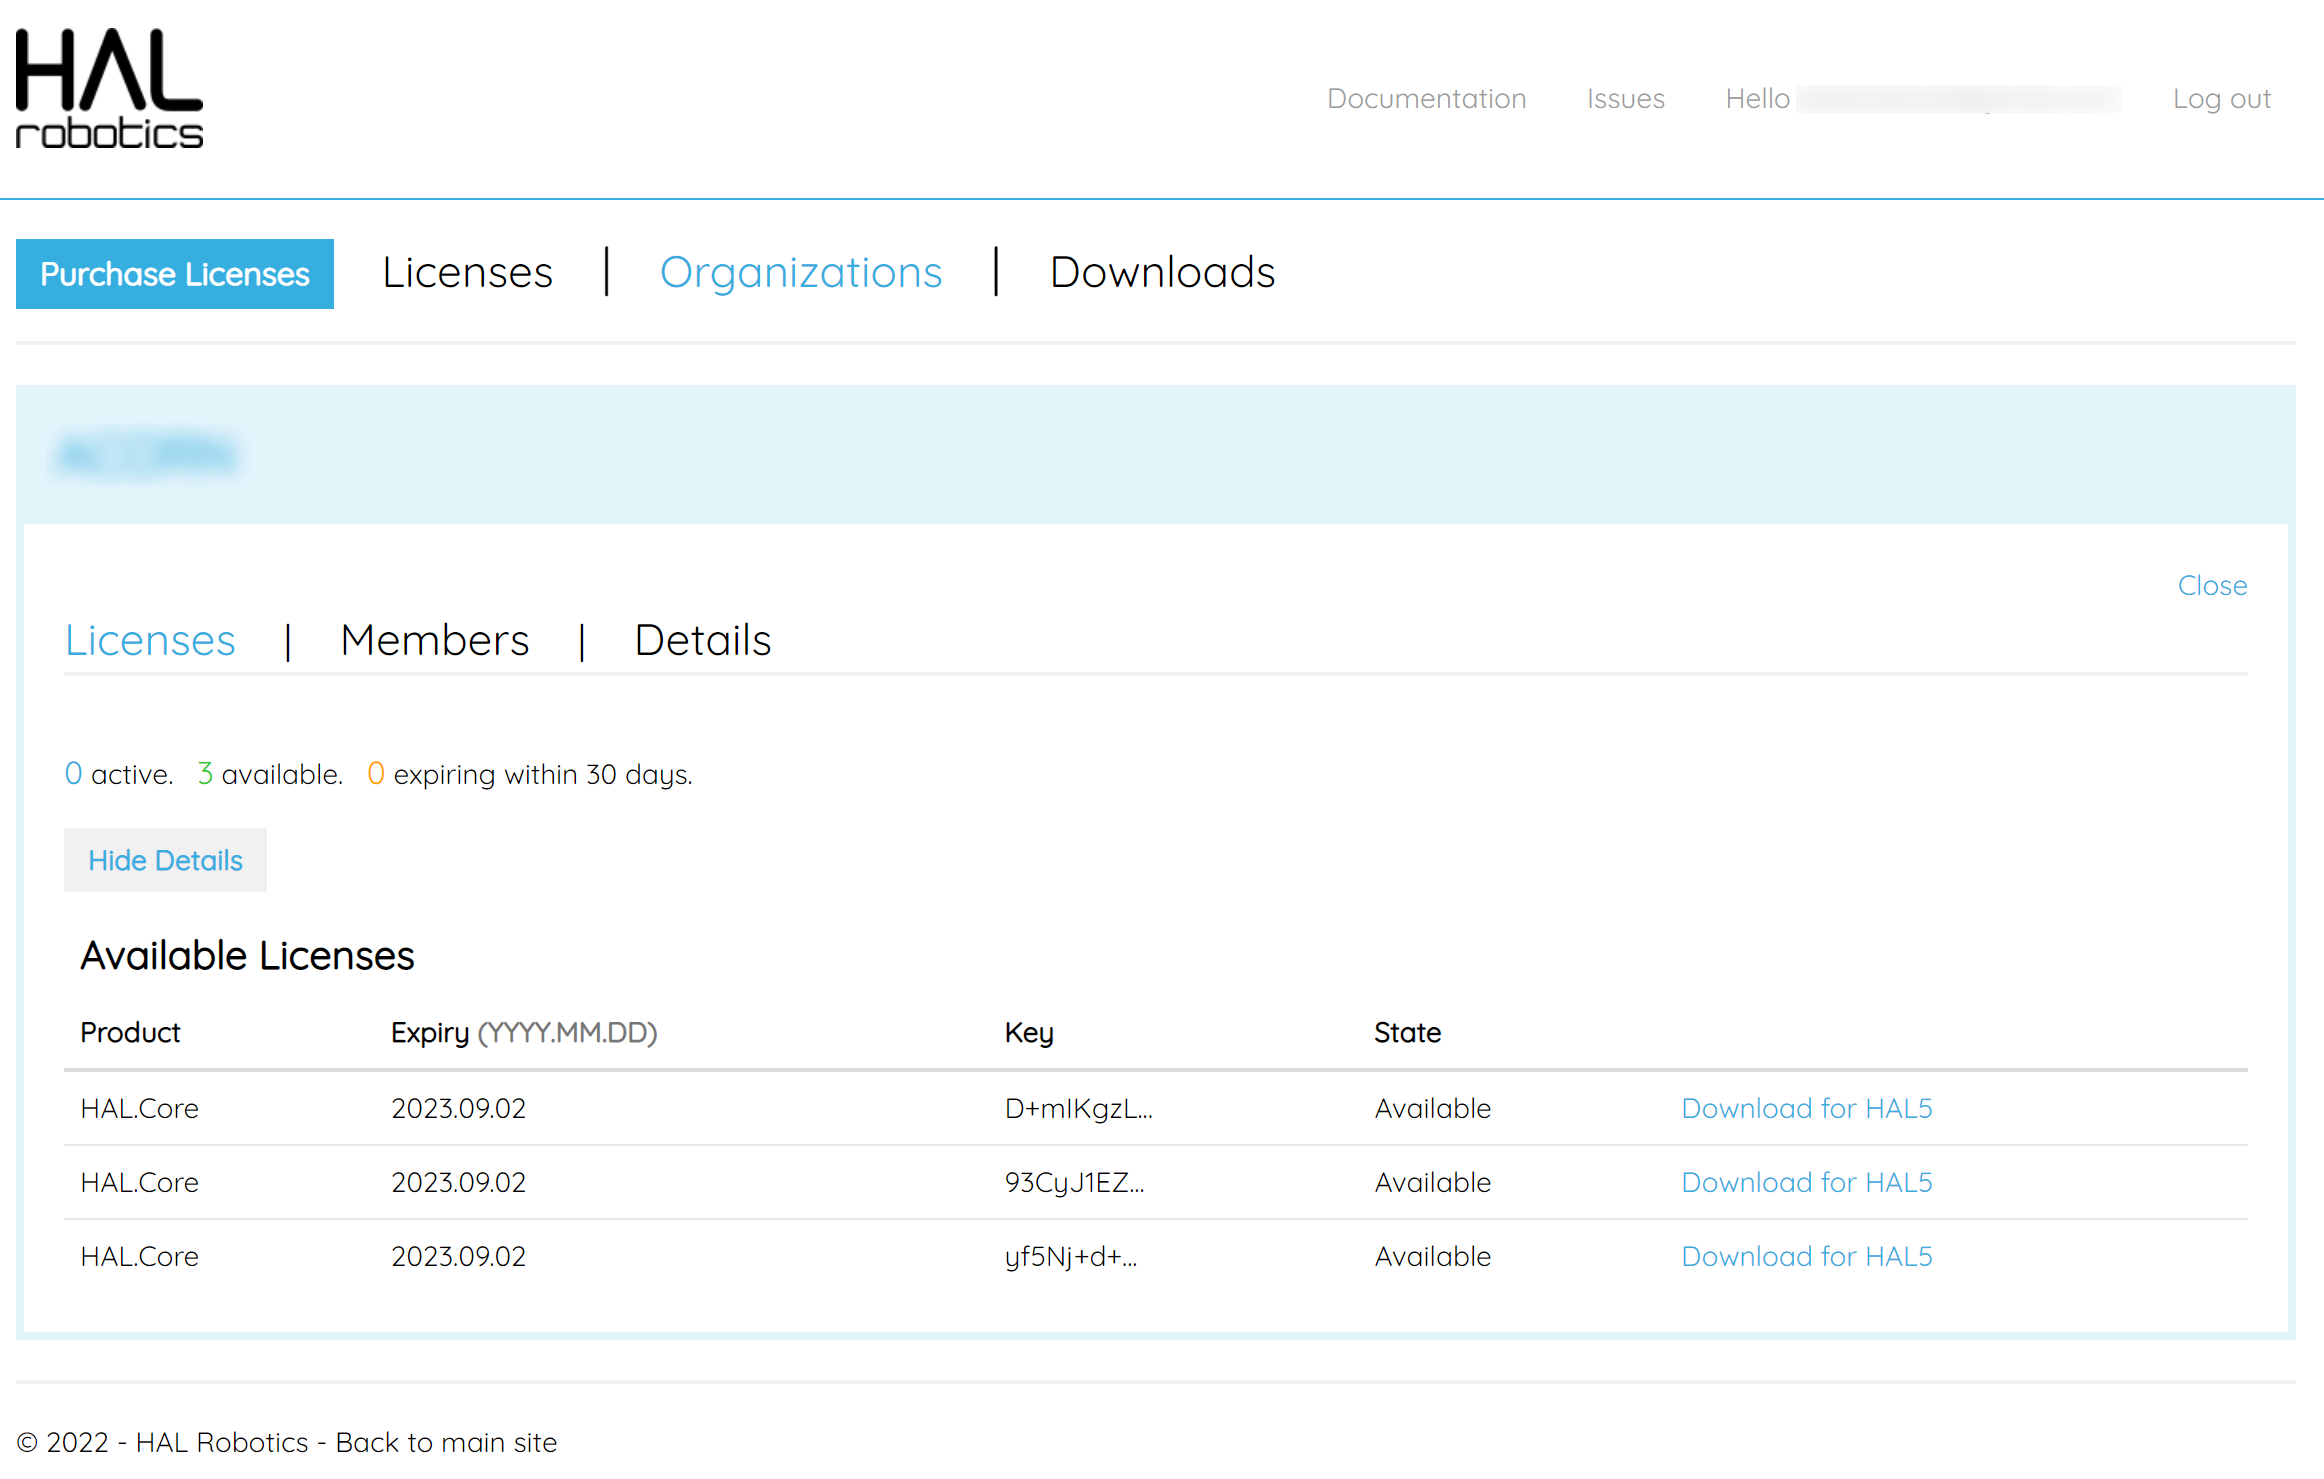
Click “Request Creation” and you will be redirected to your “Organizations” tab. Once the organization has been confirmed by the HAL Robotics team, you can view the members and licenses of the organization, and purchase licenses on the organization’s behalf. You can use the “Members” tab to toggle the admin status of members or remove them. The “Licenses” tab can be used to check which licenses are in use and when they expire.
0.3. Join an Organization
Objective:
This tutorial is aimed at users who want to join their organization on the user portal and access the organization’s licenses. If you are unsure of whether your company or institution has an organization please talk to your I.T. department or HAL Robotics Framework admin.
Requirements to follow along:
- Internet access.
- Organization name (including capitalization) on the portal.
- Organization joining phrase.
Background:
Joining an organization will allow you to access your organization’s licenses.
How to:
Start by browsing to the user portal and logging in. You can then navigate to the Organizations tab. Here you should see a list of any organizations you are already a member of. It’s likely that this list is empty at this stage so let’s join the organization for you company or institution.
Click on “Join” at the top of the page. Here you will be asked for the organization’s name and passphrase. If you don’t know these details for your organization please ask to your I.T. department or HAL Robotics Framework admin as they will have access to these details. If your organization isn’t found please check the spacing, punctuation and casing of both entries.

0.4. Purchase Licenses
Objective:
This tutorial will guide you through how to purchase licenses for the HAL Robotics Framework on the user portal. The process is the same whether you’re purchasing for yourself or for an organization.
Requirements to follow along:
- Internet access.
Background:
Purchasing licenses will allow you to use the HAL Robotics Framework and are sold on a subscription basis, starting from 1 year. They do not automatically renew.
How to:
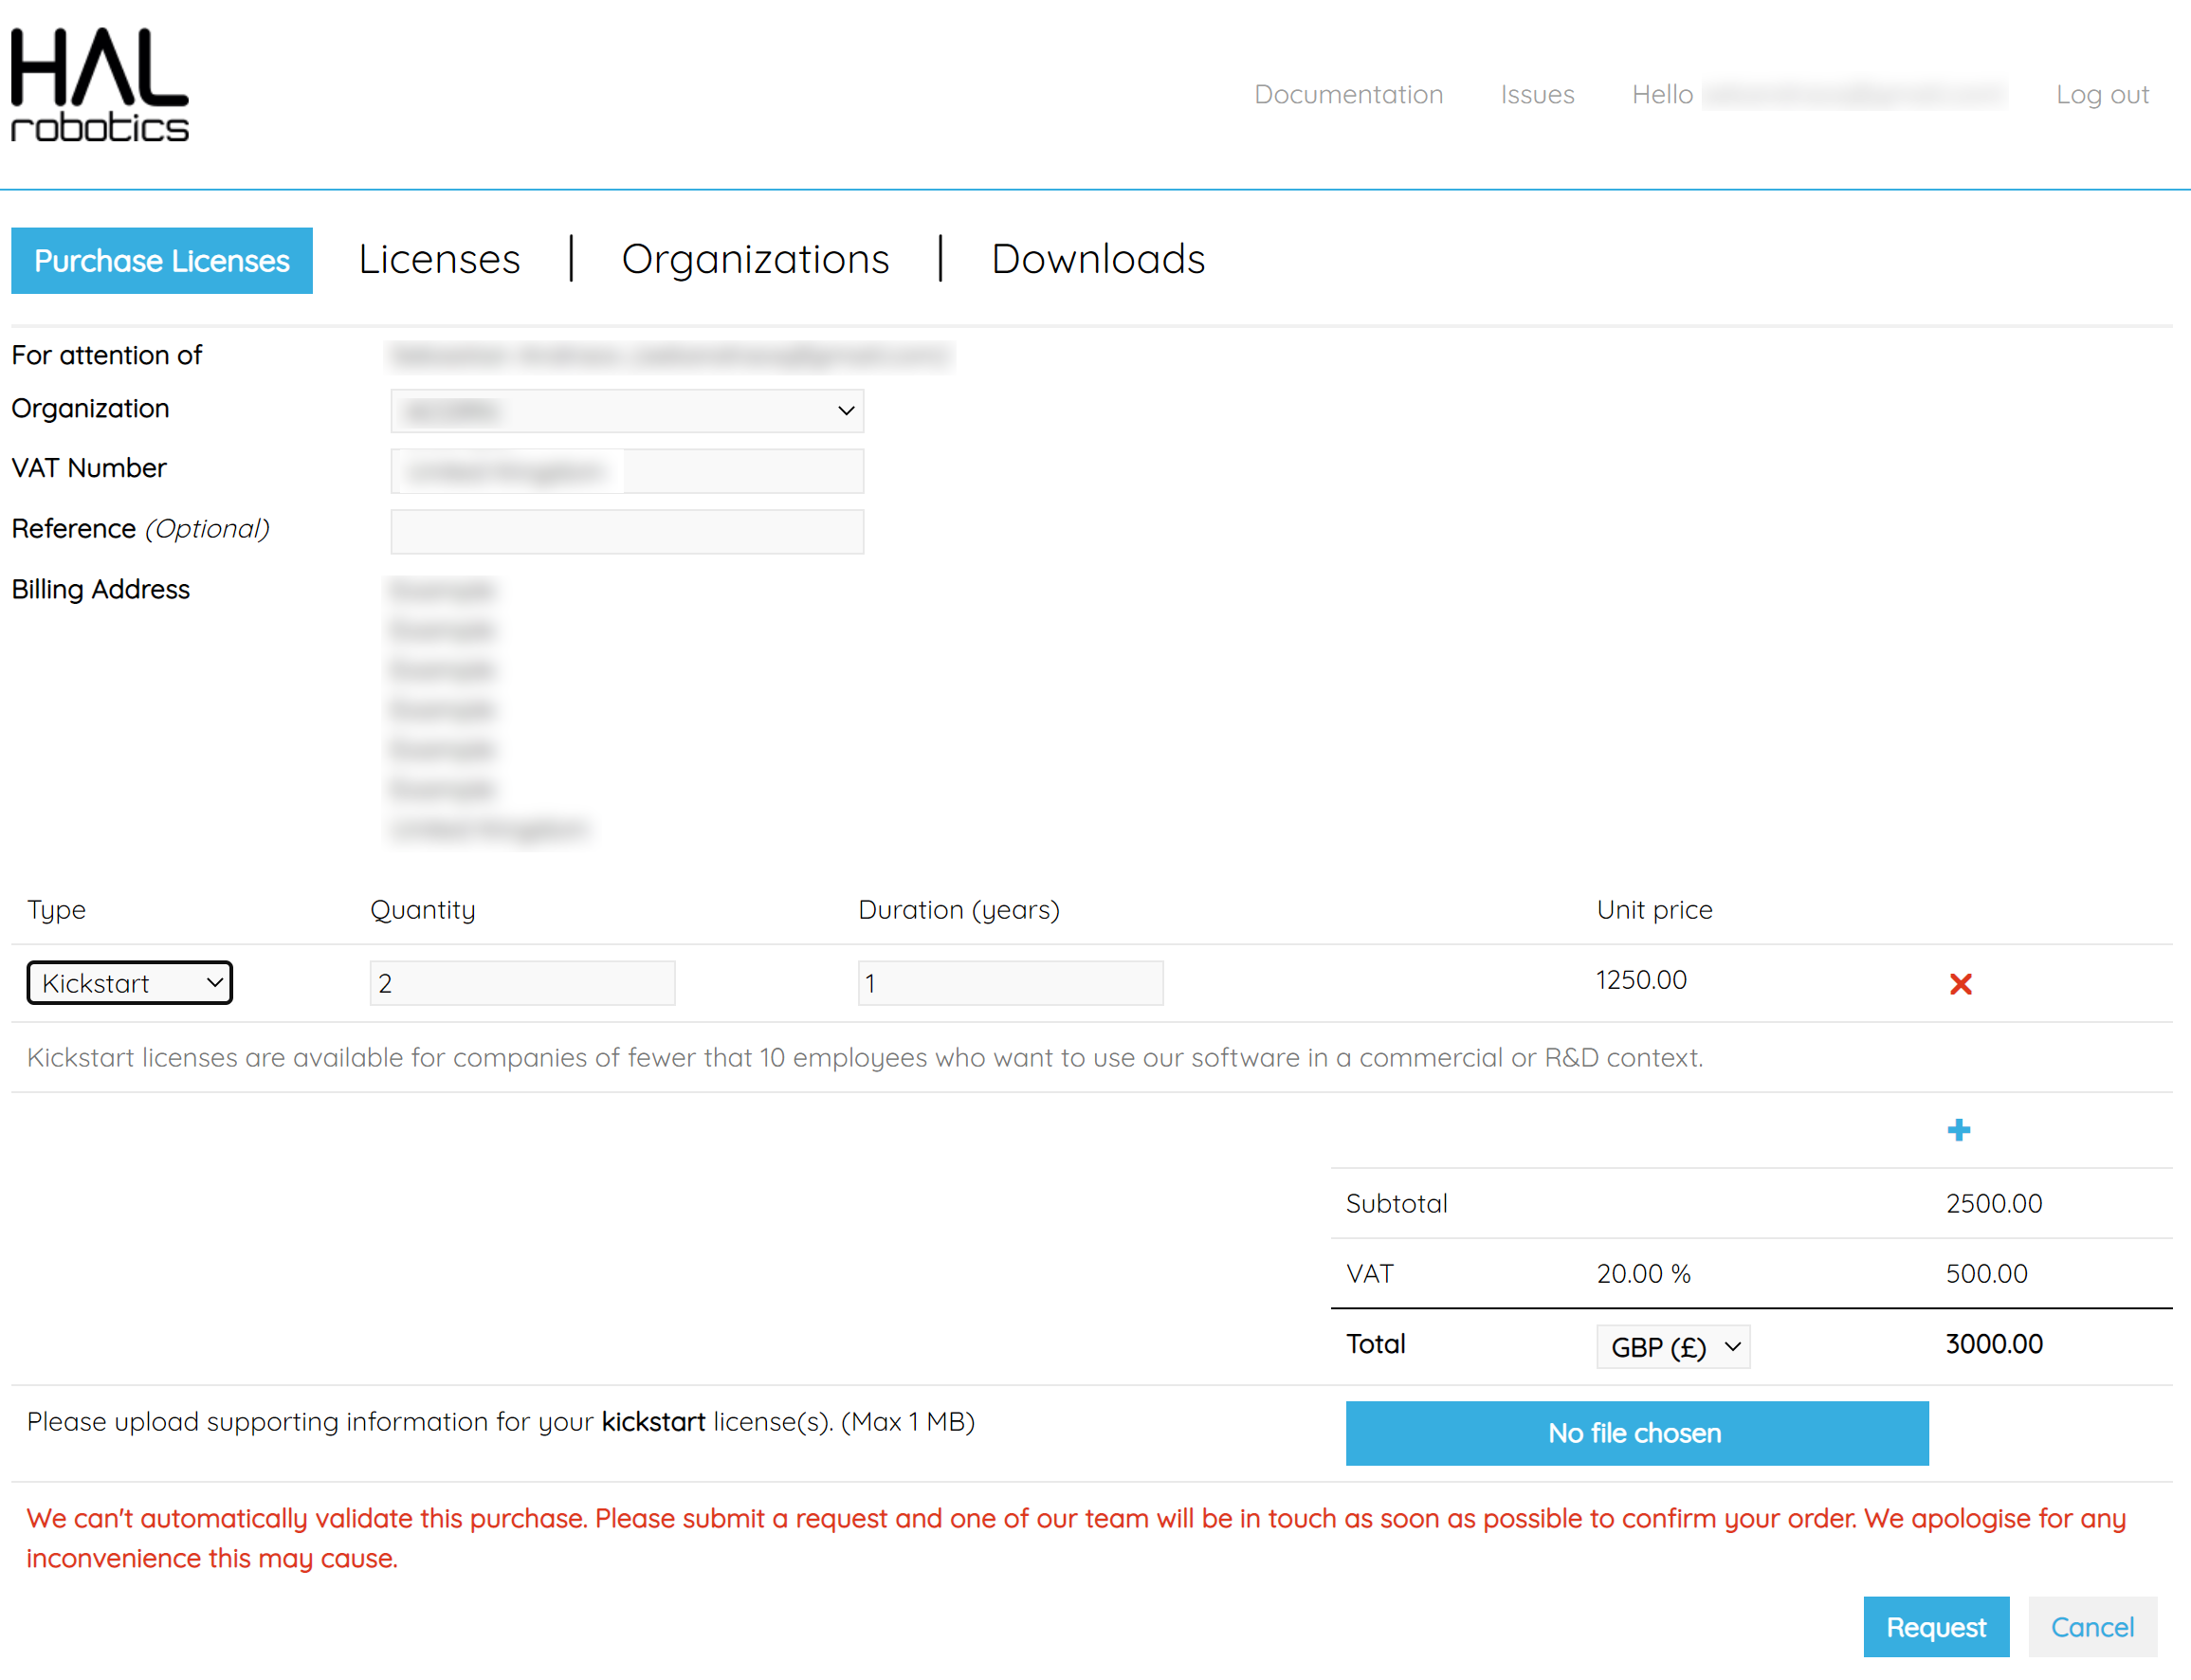
Start by browsing to the user portal and logging in. You should then see navigate the Purchase Licenses tab.
-
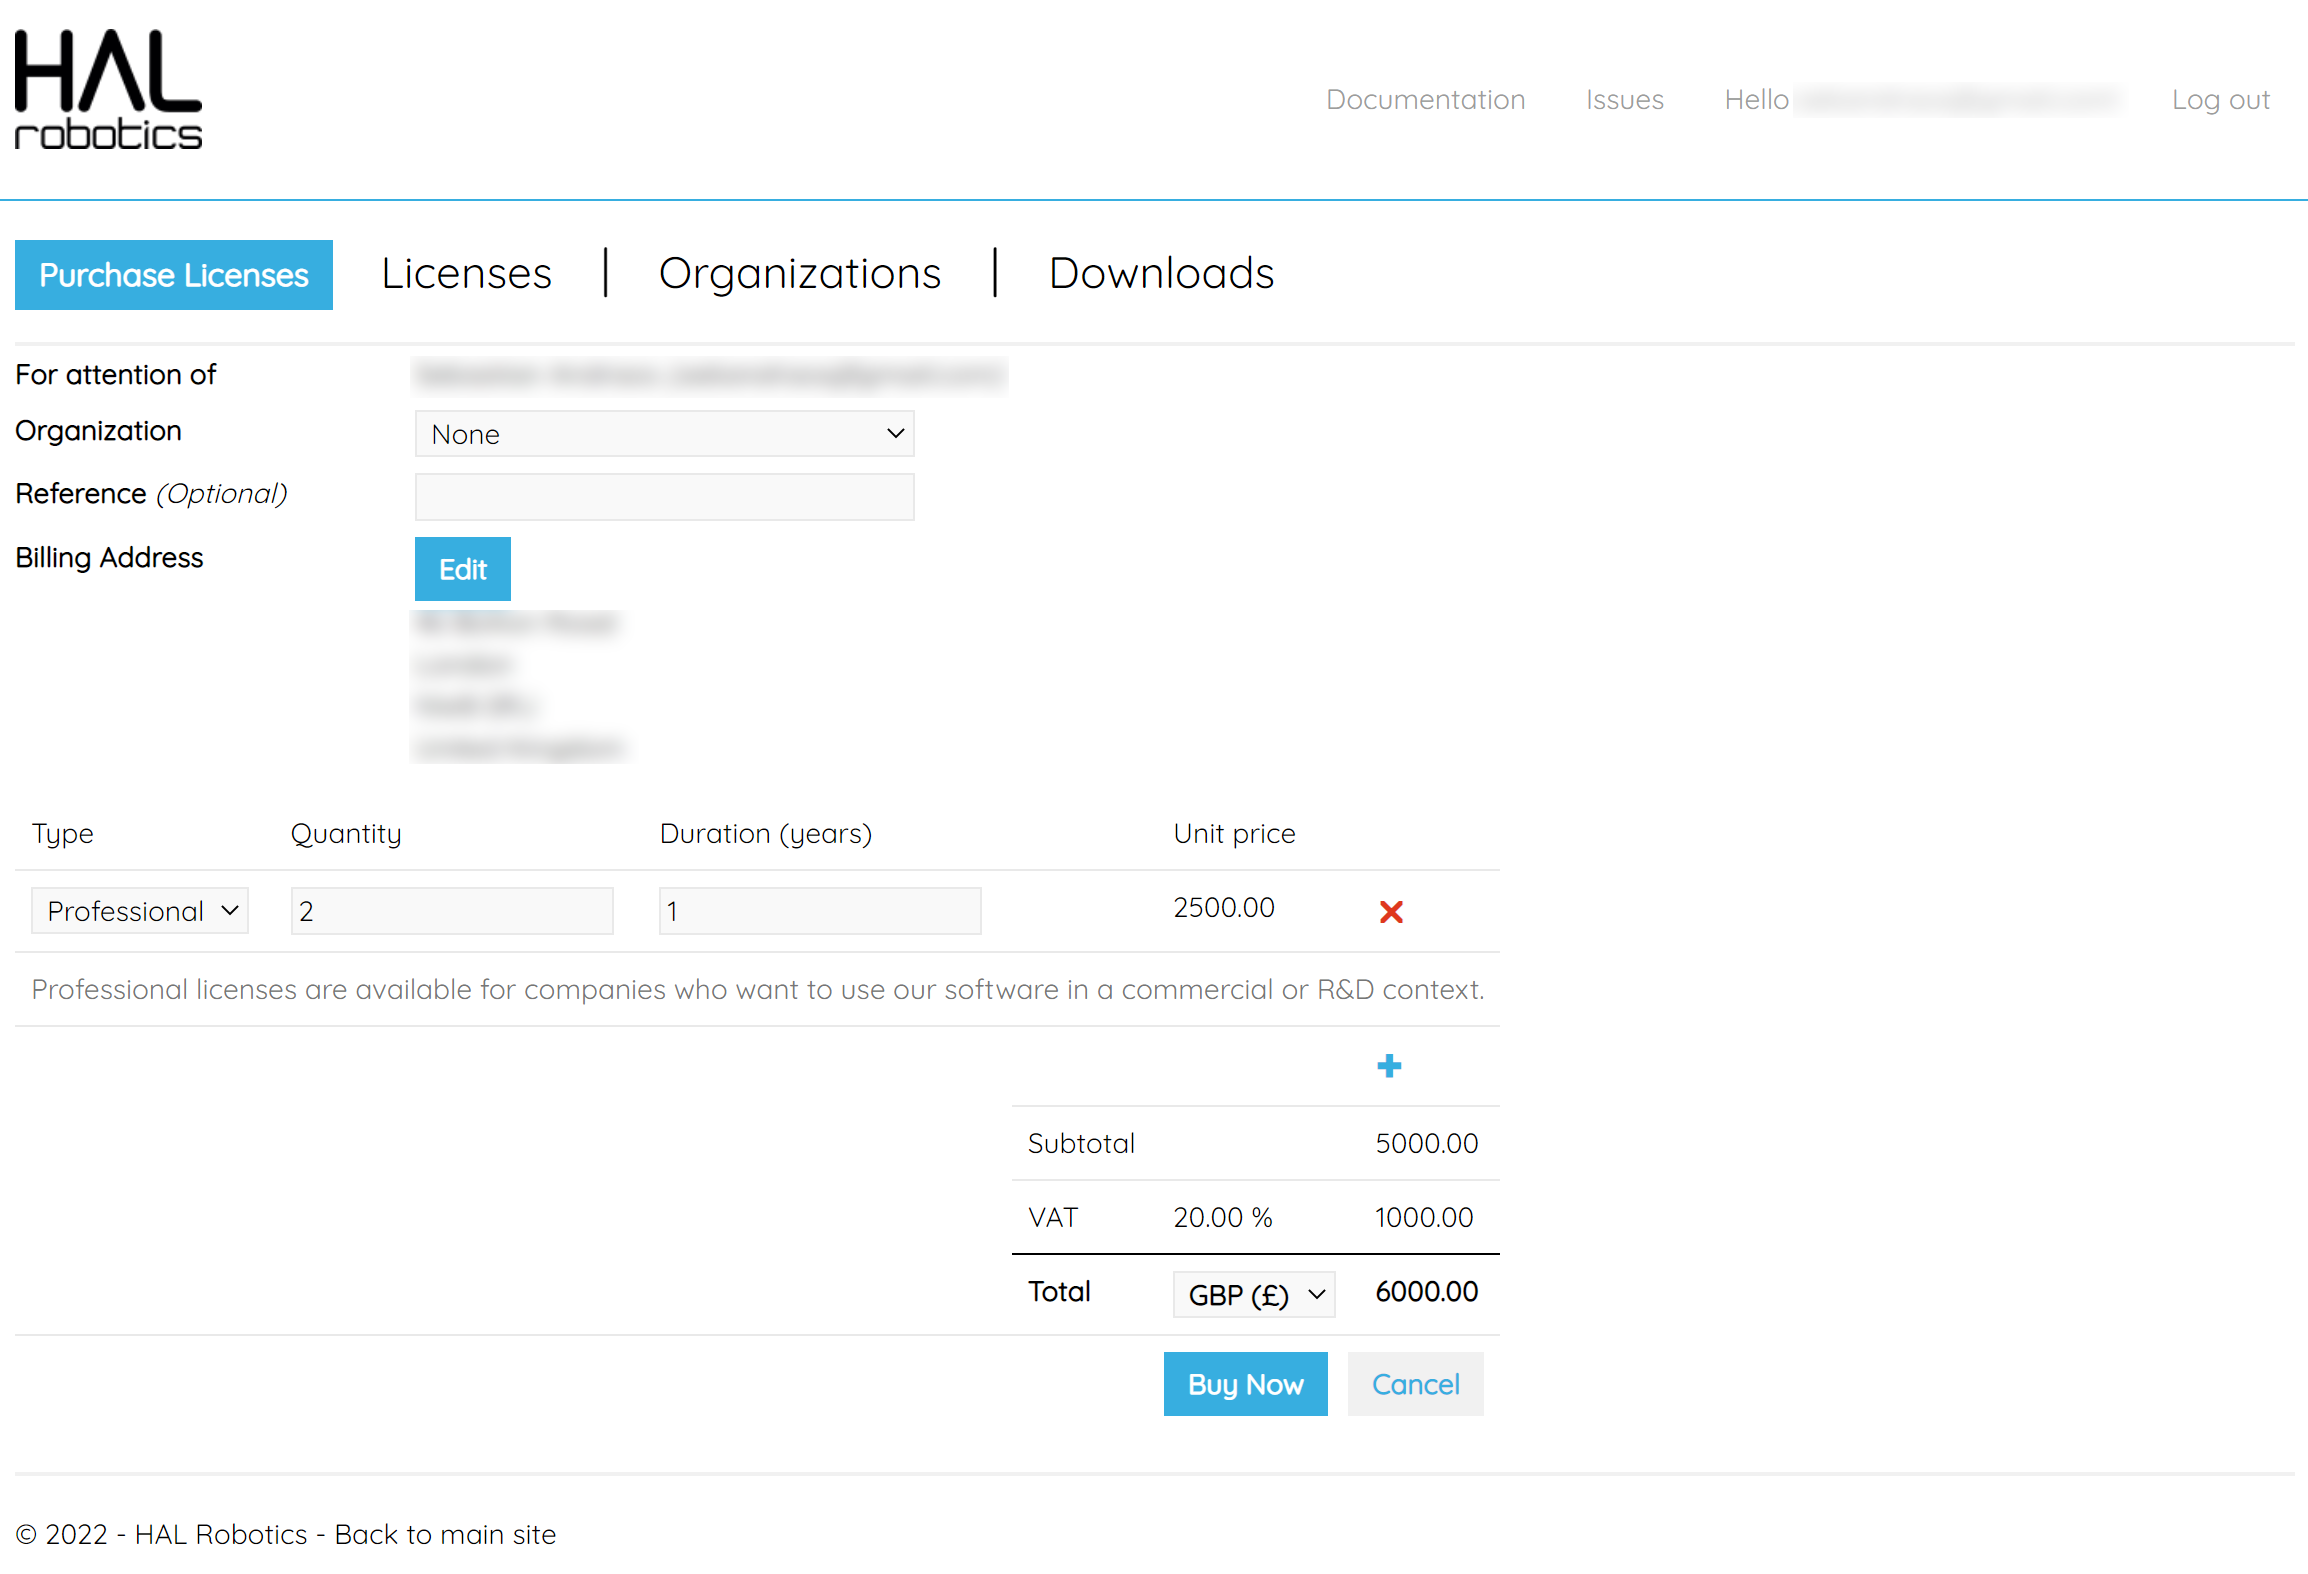
You must have a name set to purchase licenses. If your name is not listed after For attention of, click on Hello youremailaddress@example.com! and set your first and last names.
-
If you wish to purchase licenses for an organization, use the Organization drop down to select the correct one. You must be an admin for the organization to purchase licenses on its behalf. Otherwise, if you wish to purchase licenses for yourself then leave this set to “None”.
-
Set Reference if you want to add a Purchase Order number or similar to any invoices.
-
For personal licenses - if your Billing Address is not valid, the Billing Address field will be editable. Set your address and click “Save”. For organization licenses - your Billing Address and VAT number are set by your organization. If these need changing, please navigate to the Organizations tab, “View” your organization and under “Details” click “Edit”.
-
Choose your license types, quantities and durations. “Professional” licenses are the default. All others are discounts from this and you will see conditions of sale under the license line.
-
If you have chosen a license type for which you have not been pre-approved, you will need to upload supporting information e.g. a scan of your student card, or evidence of your company’s age, so that we can approve the purchase.
Once you have entered all of your information you can “Buy Now” or “Request” your licenses, depending on whether we can automatically validate your purchase. If you do have to make a request, we will review this within 1 business day and either send you an invoice directly or be in touch to clarify any details.
If you do have “Buy Now” as an option, and most people should, then your invoice should open in a new tab. If it doesn’t, don’t worry, there will be a link to it in the summary text on the web page and you will receive it by email too. This invoice will give you links to our secure payment providers through which you can pay online. As soon as your payment clears, your licenses will be issued and we will confirm this by email.
0.5. Complete Uninstallation
Objective:
In this tutorial you’ll learn how to completely uninstall the HAL Robotics Framework.
Requirements to follow along:
- A PC with the HAL Robotics Framework installed.
Background:
Whilst we make every effort to ensure that our software is stable it may occasionally be necessary to completely remove a version of the HAL Robotics Framework.
How to:
Start by opening the HAL Robotics Installer and clicking uninstall. This will uninstall all packages and extensions you added through the installer.
You can then uninstall the Installer itself through the usual Windows uninstall methods.
Once this is done you can clean up any remnants that the uninstallation process may have missed by deleting the following folders:
- %ProgramData%\HAL
- %LocalAppData%\HAL
Continue to: 1. Getting Started for decode or the Grasshopper SDK